


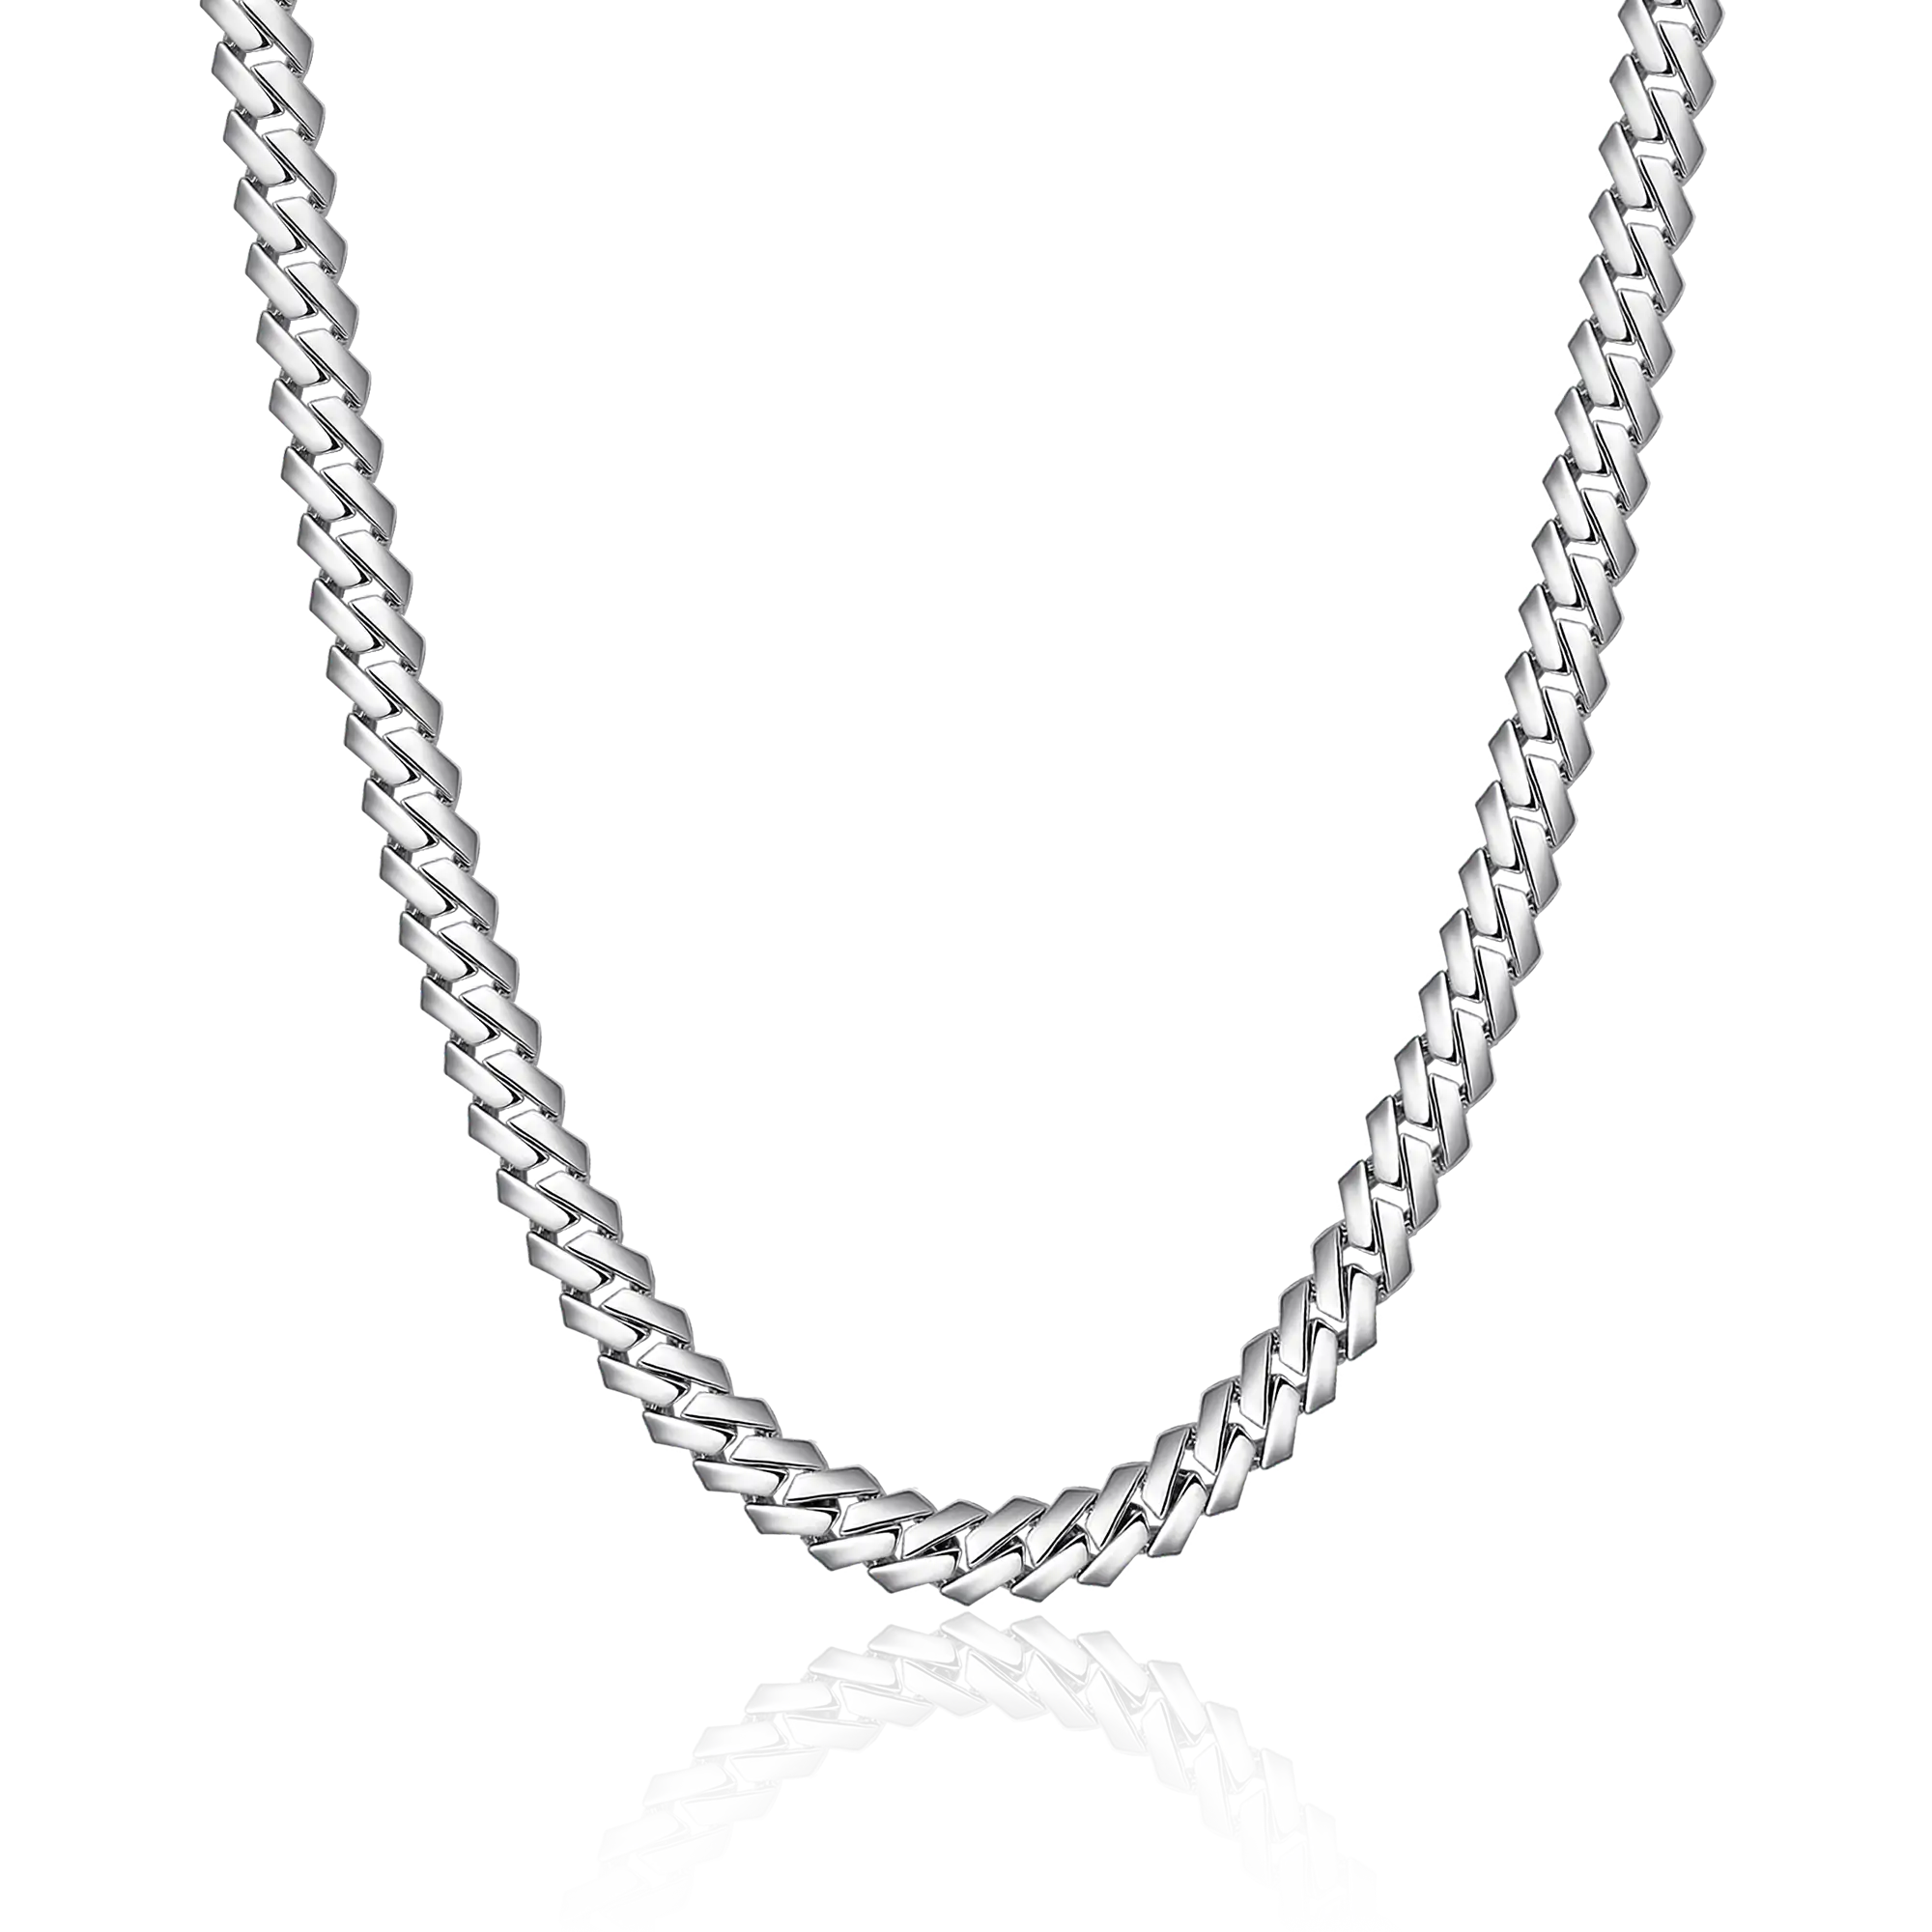


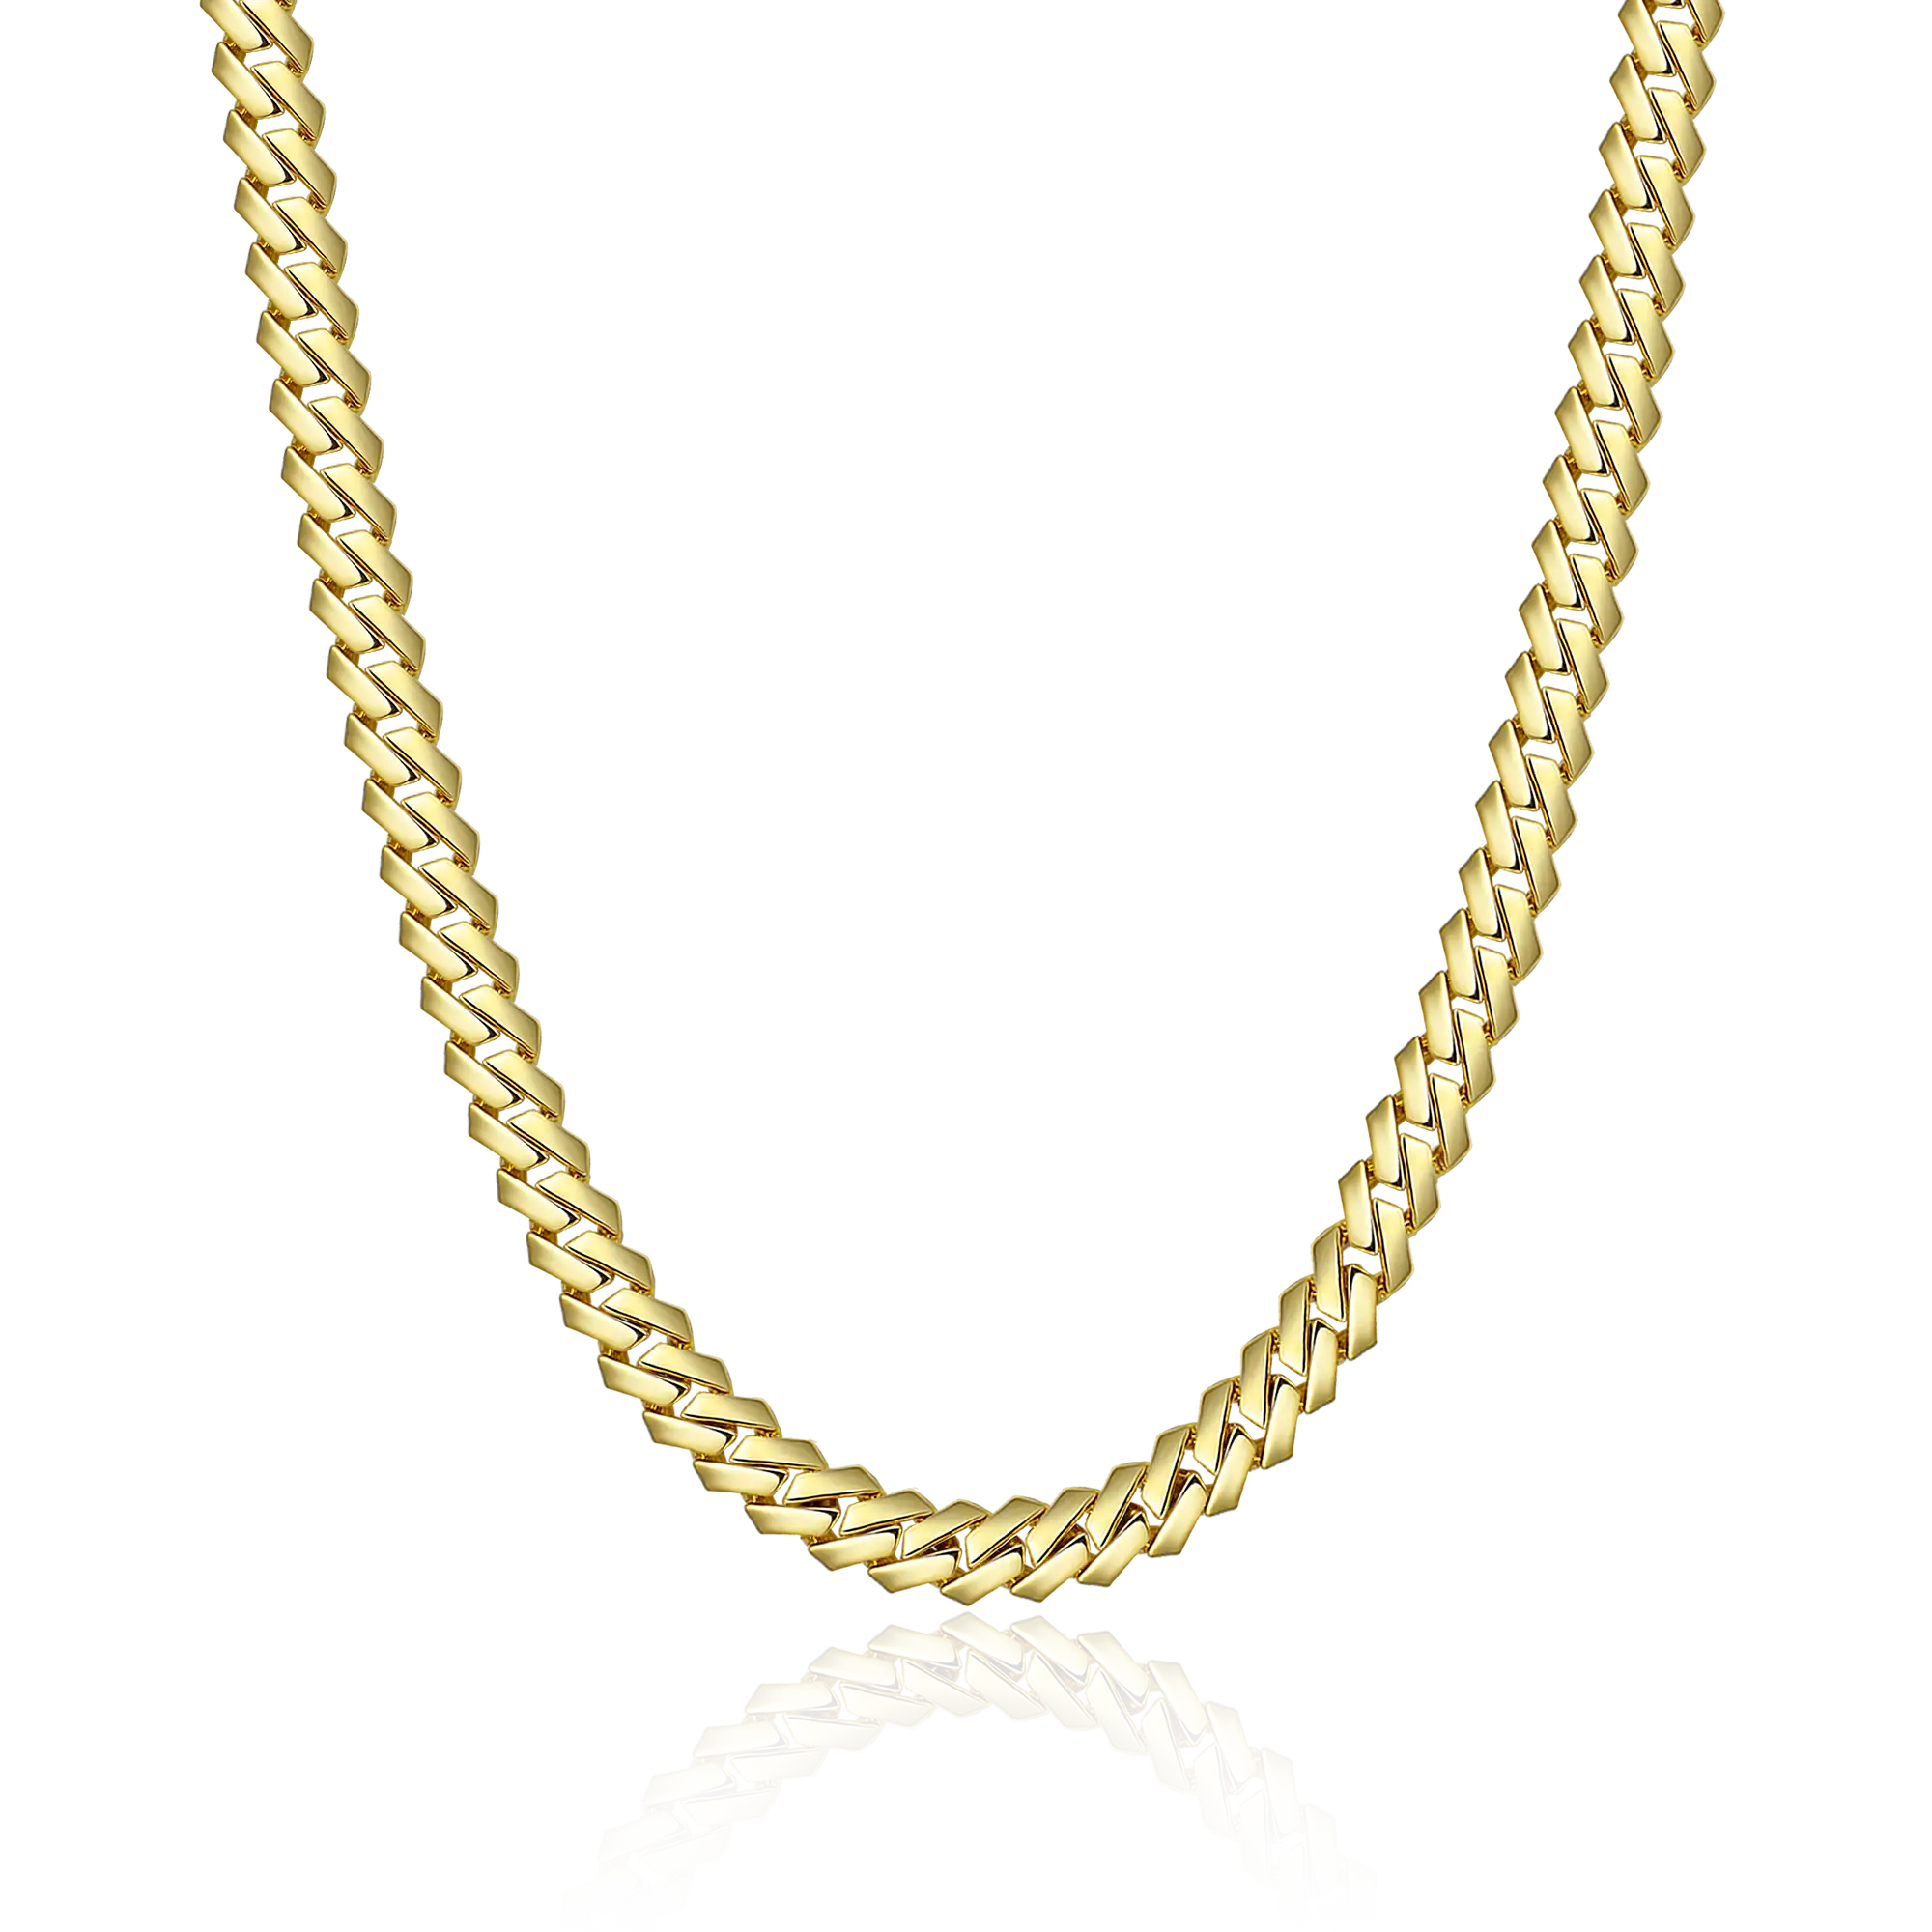


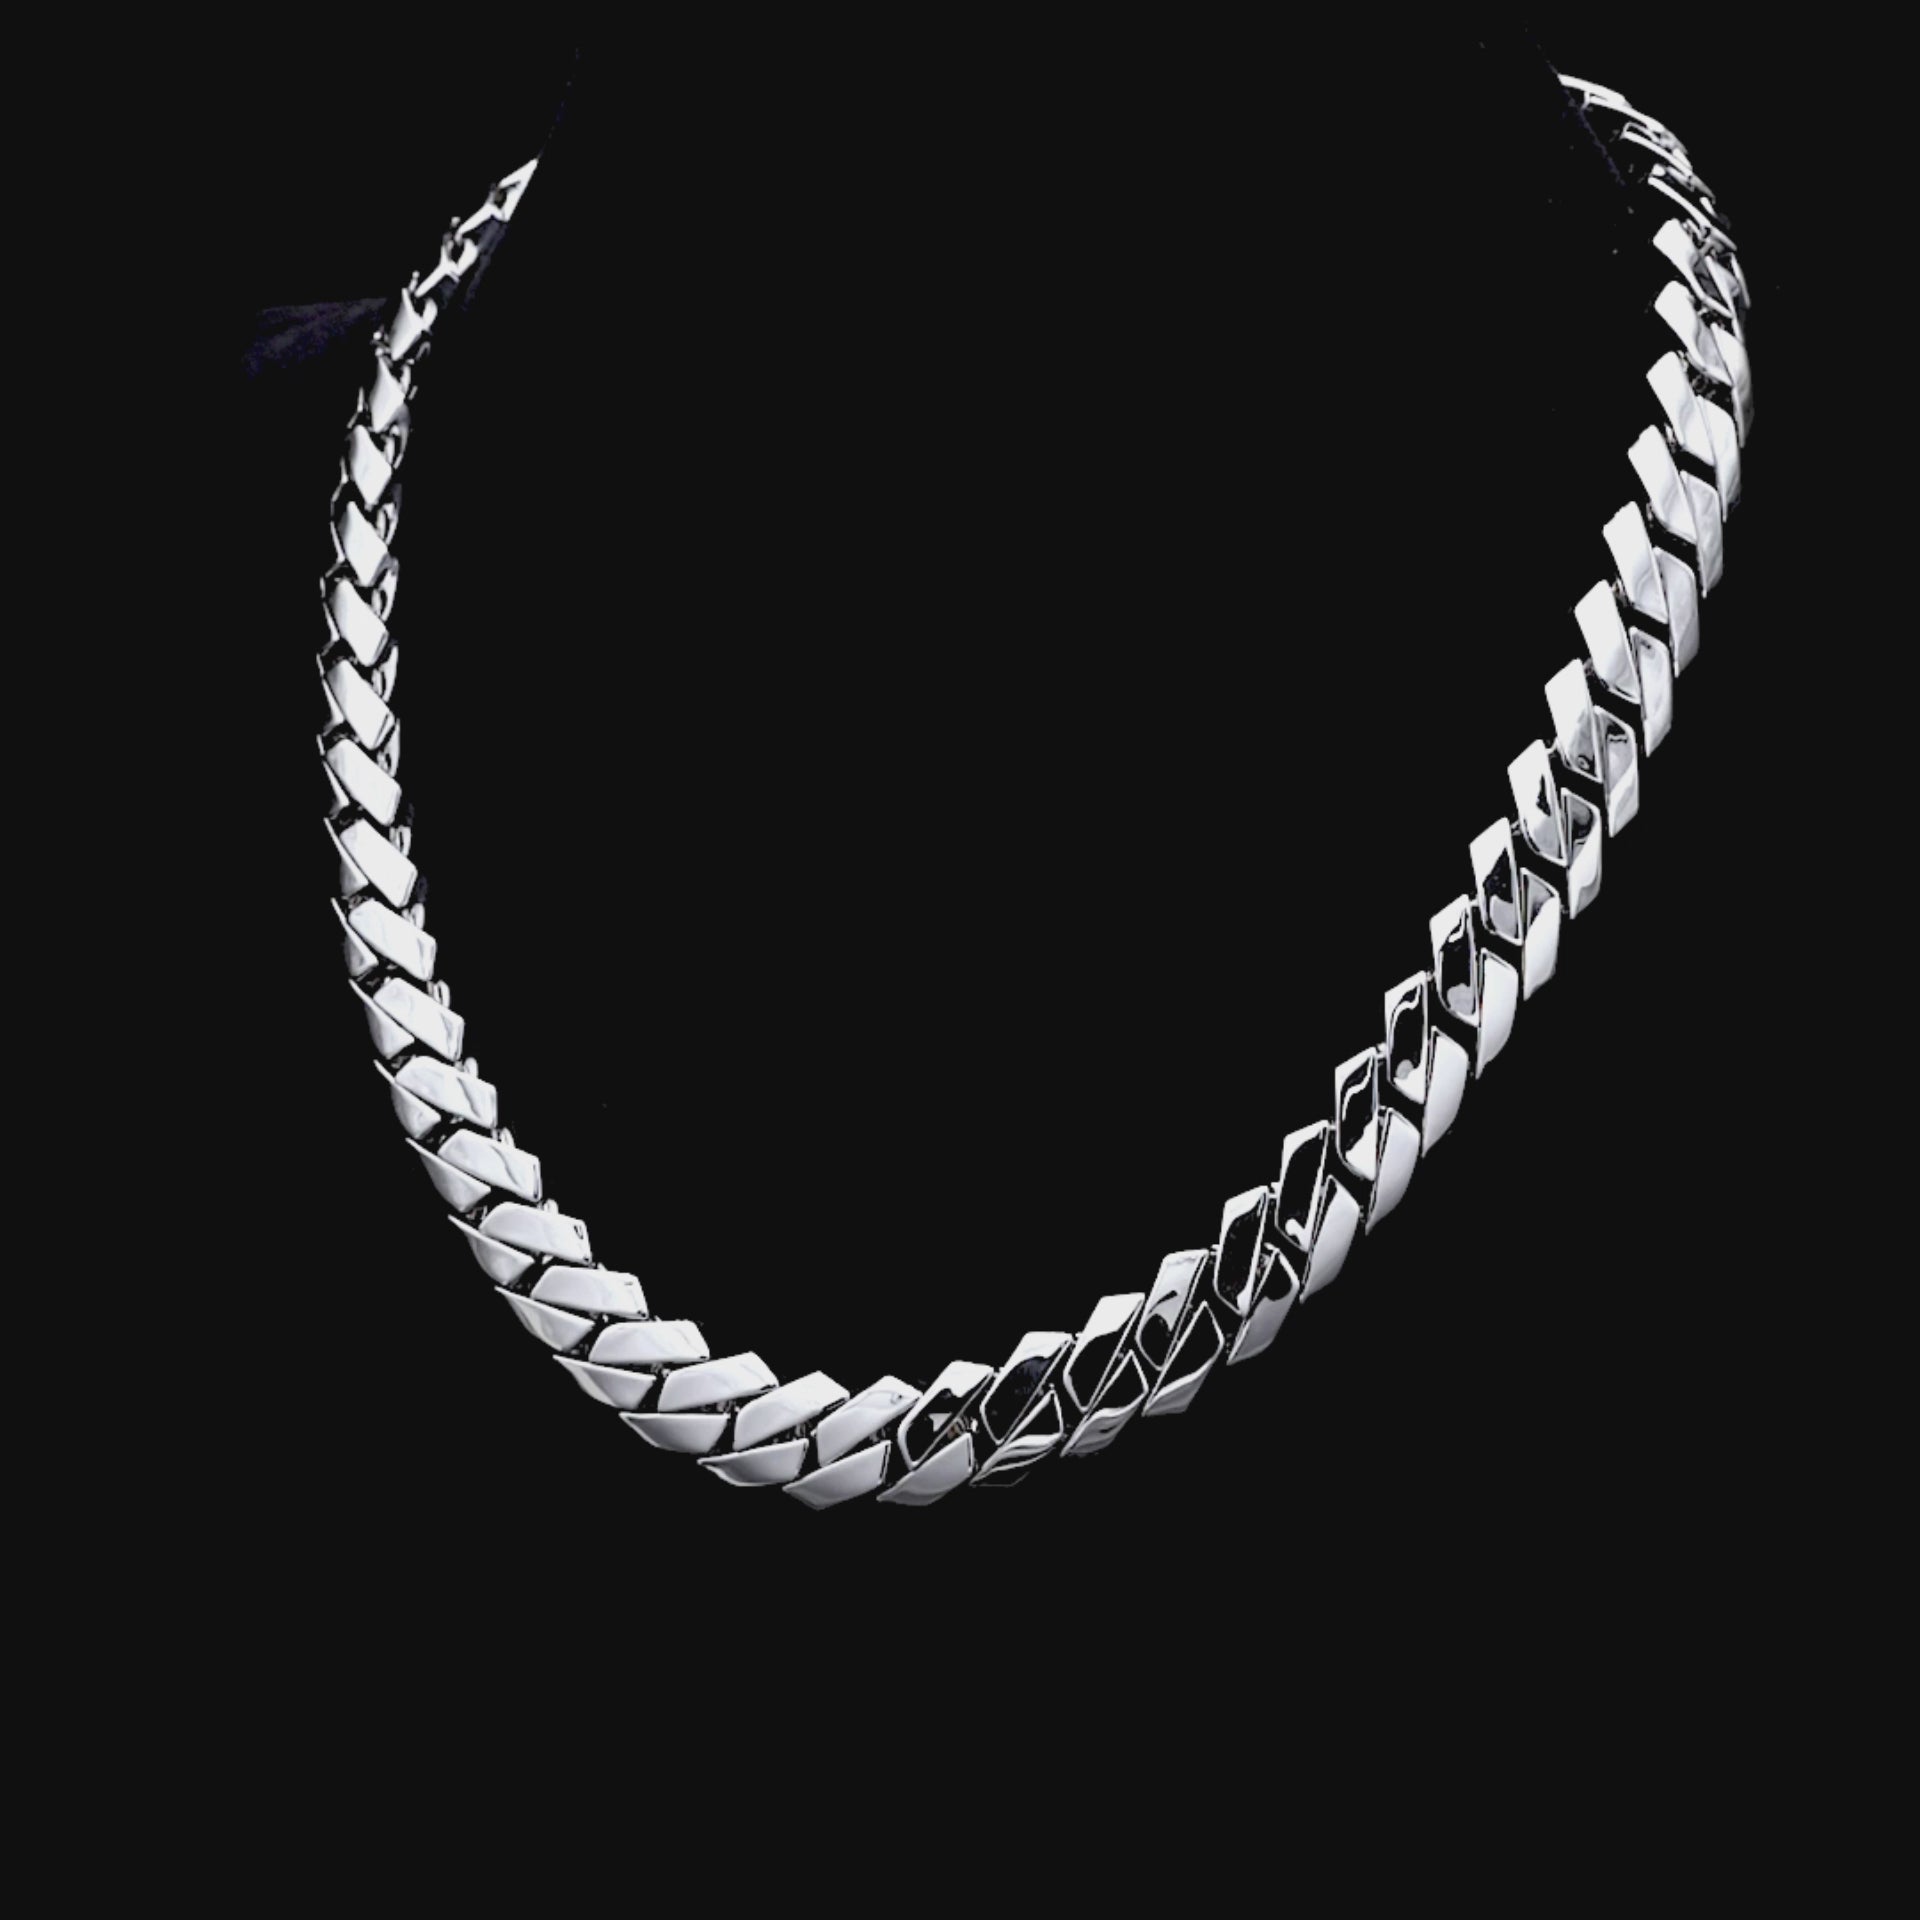
Plain Gold Prong Cuban Link Chain - 8mm

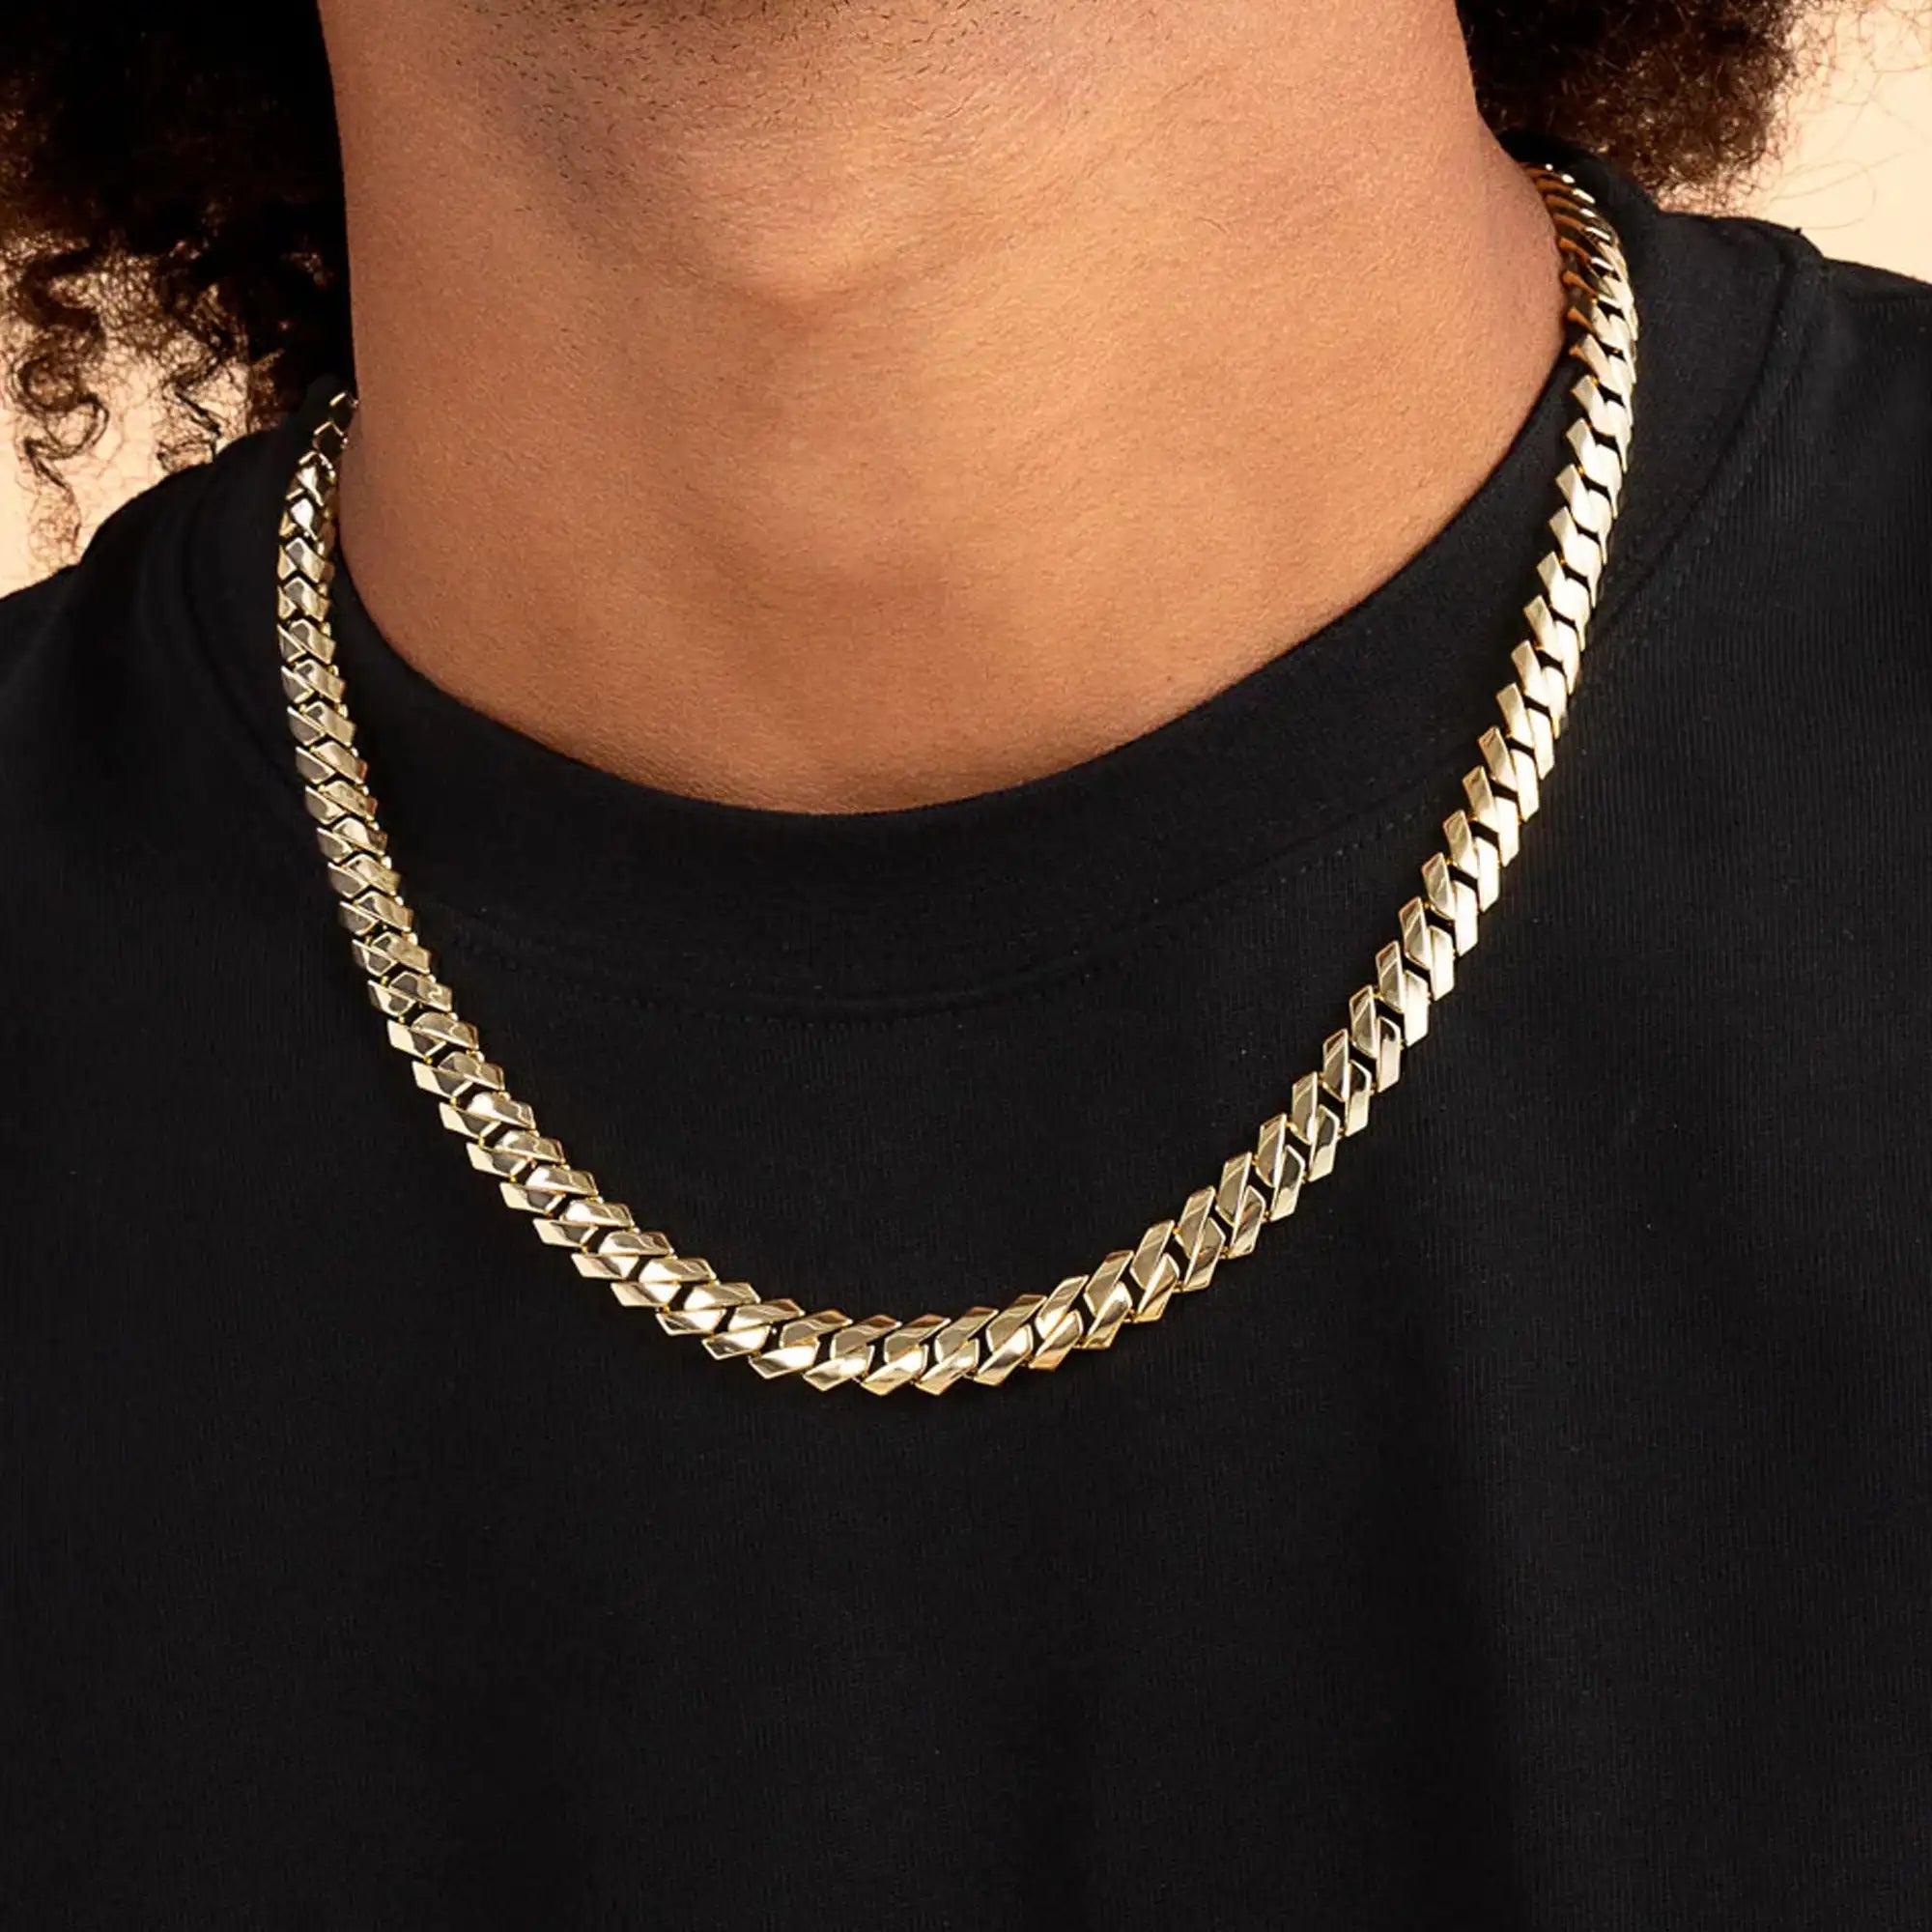
Looks good with
Plain Gold Prong Cuban Link Chain - 8mm
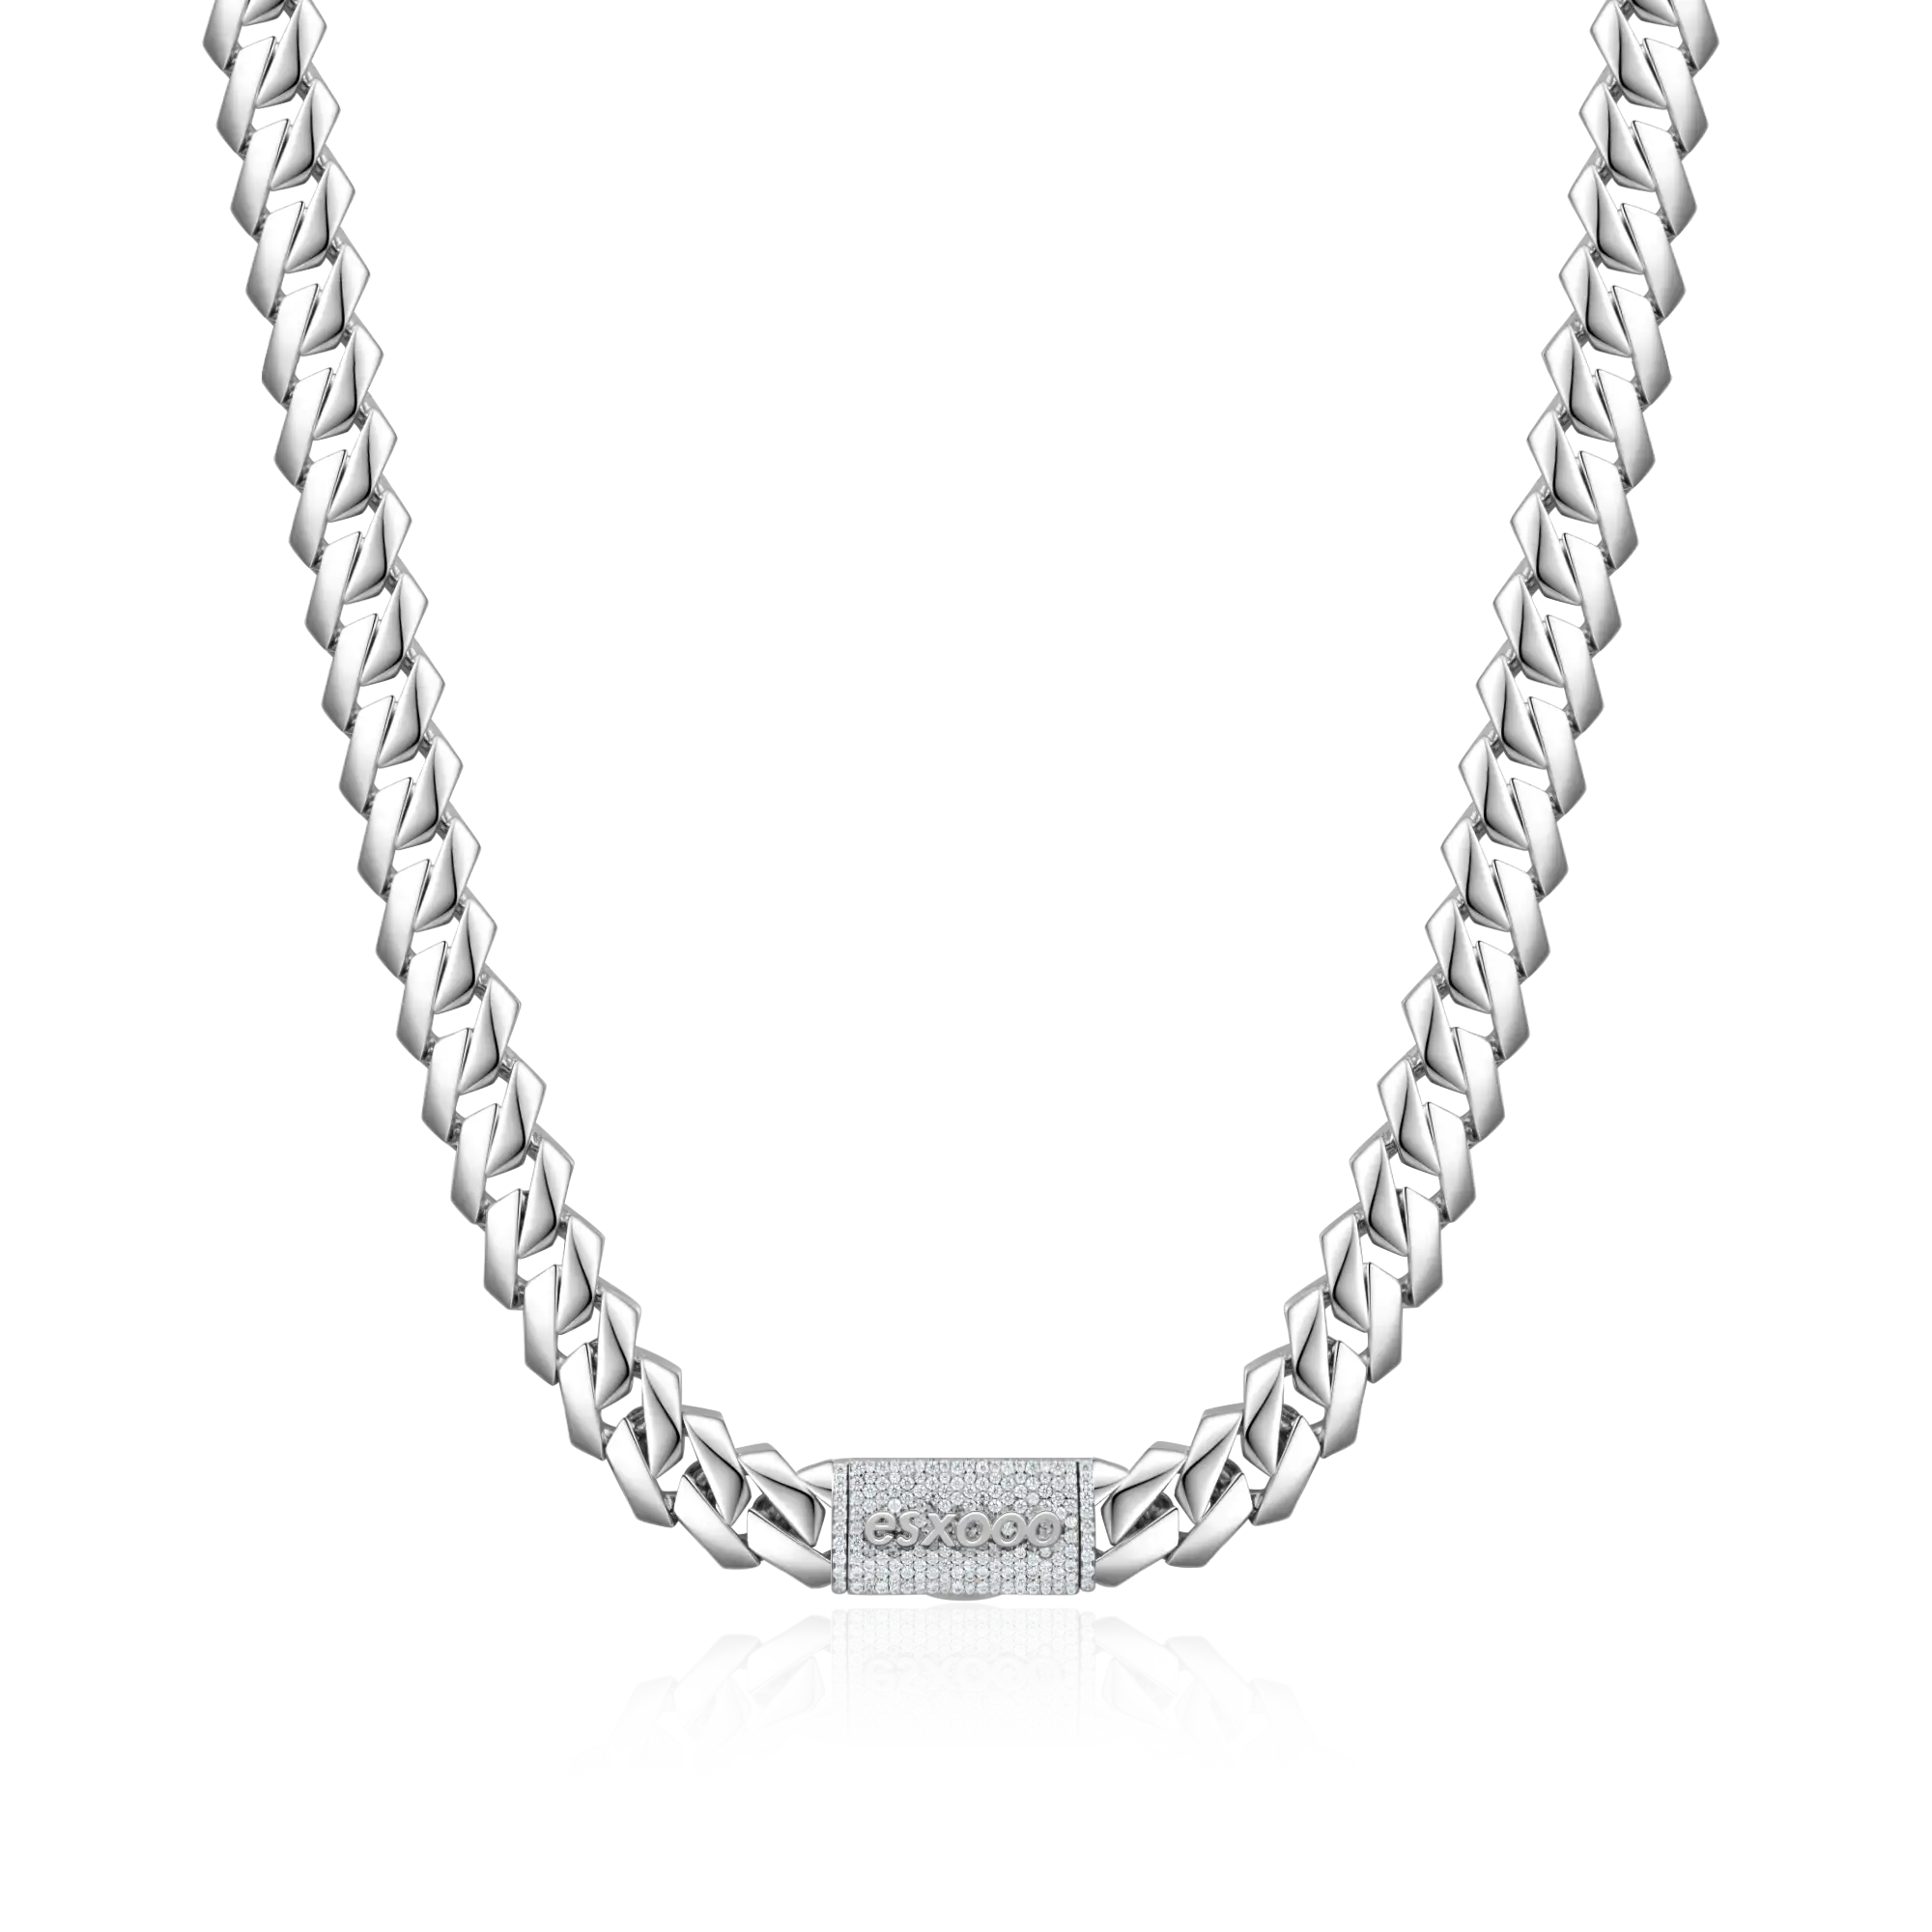
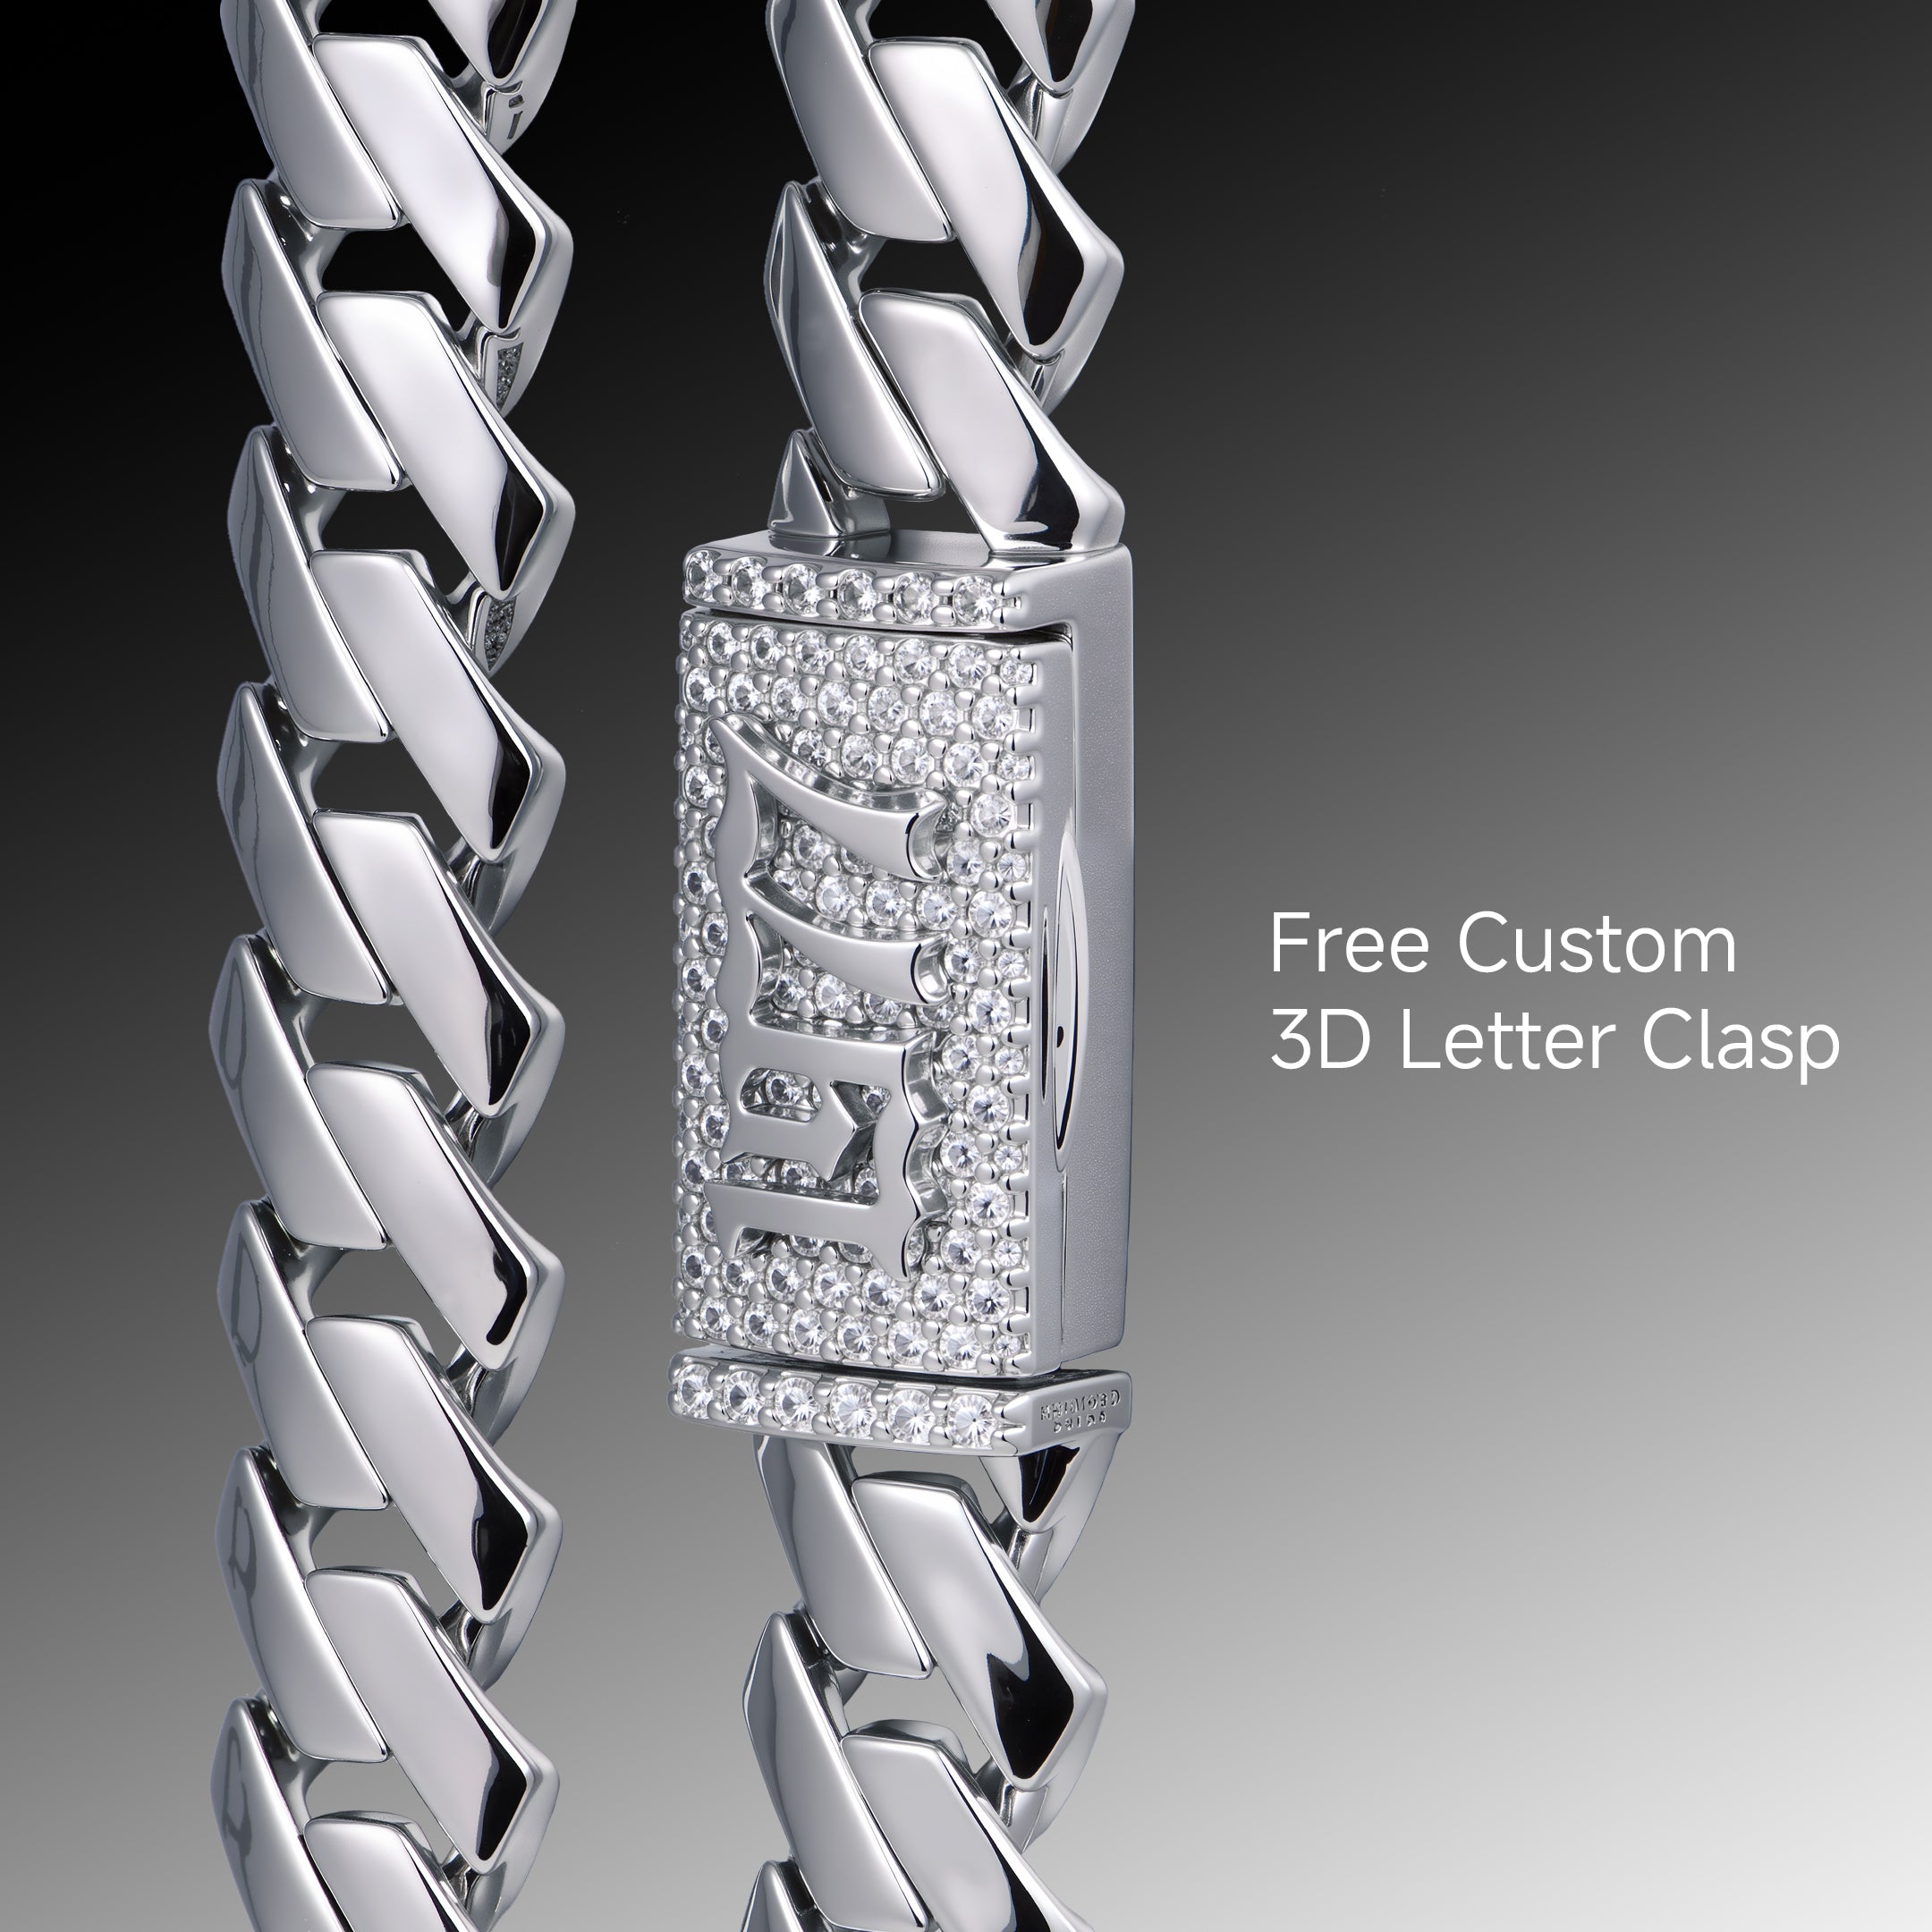
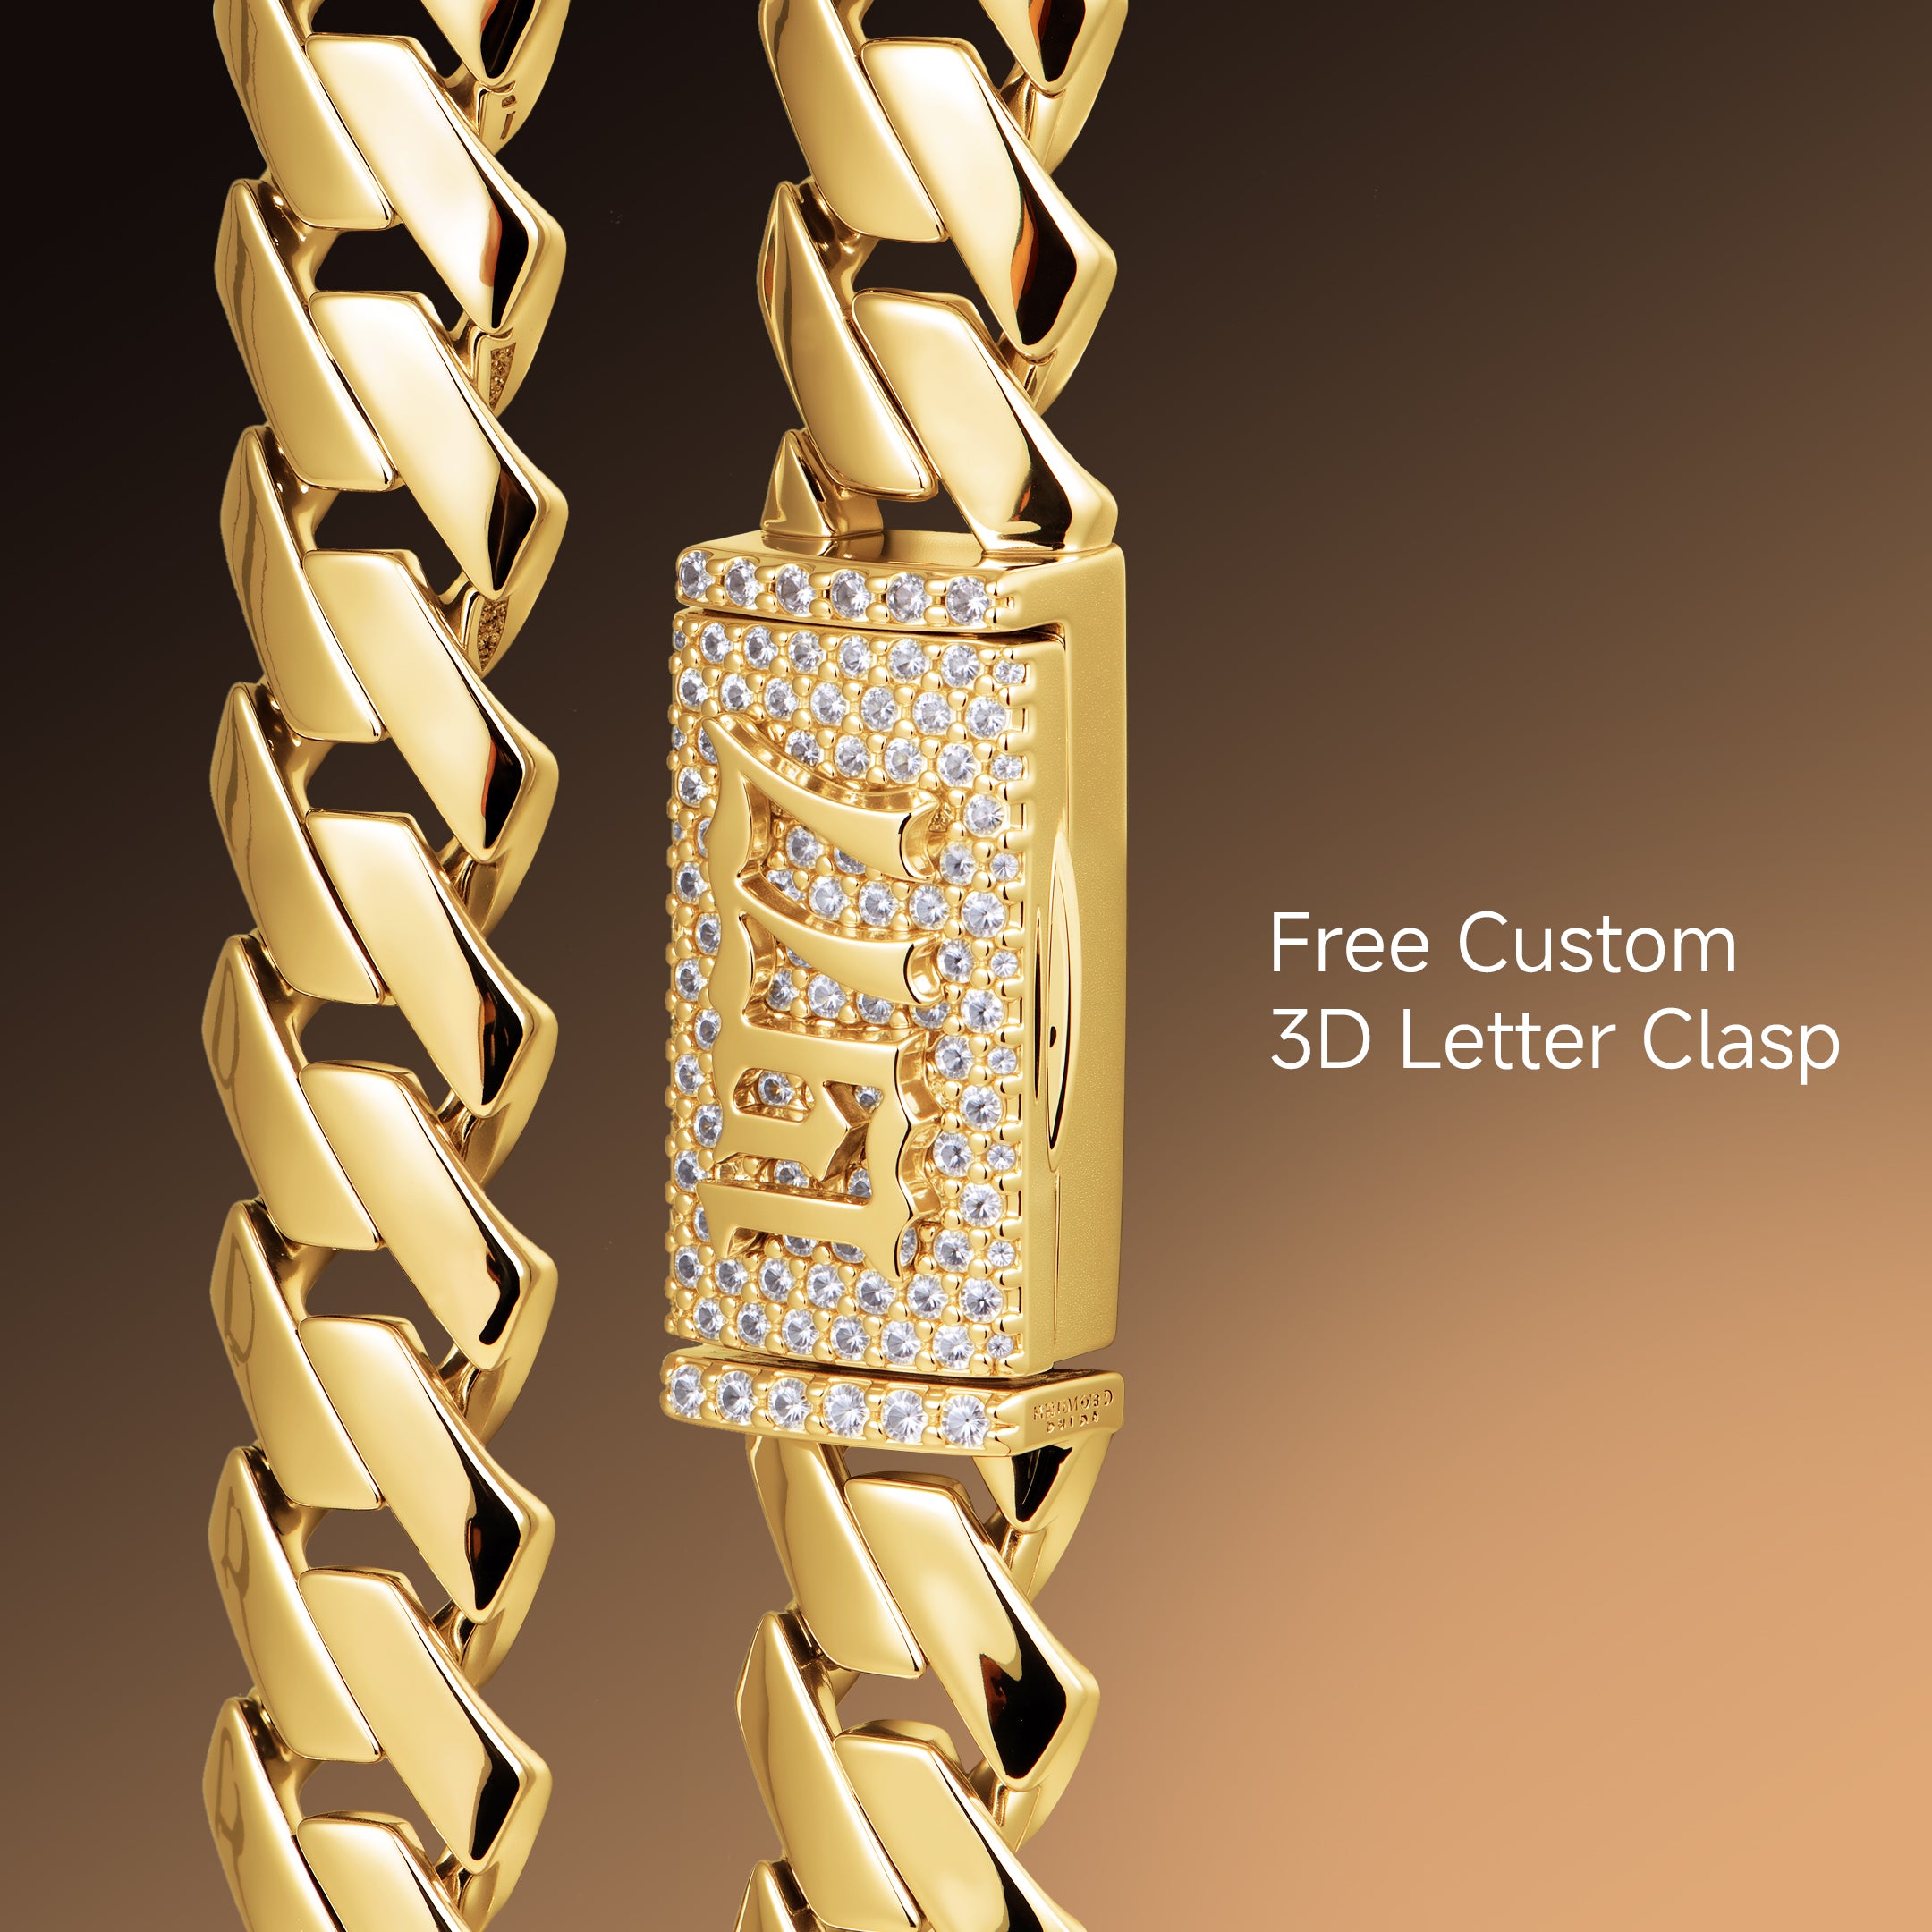
Lock in Your Story
Make it yours — your name, your number, your moment.
Note: Handcrafted in 14 days, made to last a lifetime — a piece this personal is worth the wait.
Specifications
Product Details
Exchanges & Returns
We gladly accept returns/exchanges for items in unworn brand-new condition, within the first 14 days after receipt of your order.
Just a heads up, we're unable to accept returns on Solid Gold Products and Custom/Made-to-order Products because each piece is made to order. Once the products go into production, there will be NO cancellations.
* Earrings and Grillz cannot be accepted to be returned due to hygiene reasons.
For complete Returns & Exchanges information, click here>>
If you would like to exchange/return any item(s), please submit the information at our returns portal and our customer service will soon get back to you.
Reviews

 Dec 24, 2025
Sep 15, 2025
Sep 10, 2025
Dec 24, 2025
Sep 15, 2025
Sep 10, 2025
- 1
- 2
- 3
FAQs
Please read our FAQs page to find out more.
How do I choose the right chain length?
Your chain length depends on how you want the piece to sit. Shorter lengths such as 18" usually sit closer to the collarbone, while 20" is a clean everyday length for most people. 22"–24" gives a more relaxed street fit and works well for layering or wearing with pendants.
For the best fit, consider your neck size, body frame, and how you plan to style the chain. If you are unsure, 20"–22" is usually the safest range for daily wear.
How do I choose the right chain width?
Chain width controls the weight, presence, and overall look of your piece. Slimmer chains are easier for everyday wear and layering, while wider Cuban, Rope, or Tennis styles create a stronger statement.
If you want a clean daily chain, choose a smaller or medium width. If you want the chain to stand out on its own, go wider. For heavier iced-out styles, also consider comfort and how long you plan to wear the piece each day.
Which chain width works best with my pendant?
The right chain depends on your pendant’s size, weight, and bail opening. A larger pendant usually needs a stronger chain with enough width and structure to support it. A smaller pendant pairs better with a slimmer chain so the pendant stays balanced and does not get overpowered.
Before ordering, please check the pendant details and chain width on the product page. If you are unsure whether a chain will fit your pendant, contact Aporro Service before purchase.
Can I customize the clasp on my Aporro chain?
Selected chains may support clasp customization. Availability depends on the chain style, material, width, and clasp design.
Please note that some clasp customizations may require an additional fee and extra production time. Contact Aporro Service before placing your order so we can confirm availability, pricing, and timing.
Are Aporro chains made with real silver or real gold?
Aporro chains are available in different materials depending on the style, including 925 sterling silver, solid gold, stainless steel, and plated finishes. Each product page lists the specific material used for that piece.
Before purchasing, please check the product details carefully. If you are looking for solid gold or sterling silver only, contact Aporro Service and we can help you choose the right piece.
How long does shipping and processing take?
In-stock orders usually require 1–2 business days for processing, excluding weekends and holidays. Standard shipping typically takes 4–8 business days, depending on destination and carrier conditions.
Custom or made-to-order pieces require additional production time, usually around 14 business days before shipping. You will receive tracking updates once your order is processed.
What is Aporro’s warranty policy?
Aporro offers a 365-day guarantee for eligible purchases made directly through Aporro. If the jewelry you received has a confirmed manufacturing defect within the warranty period, we may offer a one-time replacement.
Warranty replacements require a shipping and handling fee. The warranty does not cover lost items, stolen items, scratches, accidental damage, water damage, improper care, or normal wear over time.